Getting Started with Arduino
Getting Started with Arduino
https://randomnerdtutorials.com/installing-the-esp32-board-in-arduino-ide-windows-instructions/
http://blog.daum.net/_blog/BlogTypeView.do?blogid=0ZPt7&articleno=2649
https://bbangpan.tistory.com/17
http://www.lucadentella.it/en/2018/03/05/esp32-32-ble-ibeacon/
https://devcenter.heroku.com/articles/getting-started-with-python
https://dl.espressif.com/dl/package_esp32_index.json
http://arduino.esp8266.com/stable/package_esp8266com_index.json
- Install the arduino desktop ide
- windows, mac os x, linux, portable ide (windows and linux)
- and online ide (web editor)
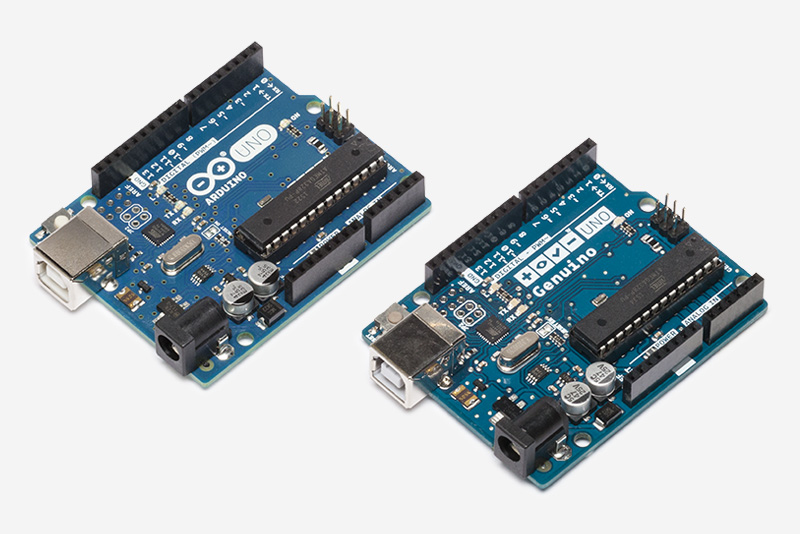
- Use your arduino uno on the arduino desktop ide
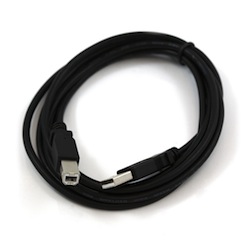
- connect the board to your computer using the USB cable.
- The green power LED
labelled PWRshould go on.
- install the board drivers
windows installer: will install drivers automatically as soon as you connect your board.zip packageor for some reason: step-by-step screenshots for installing the Uno under Windows XP.
- Compare board spec
name proc vol(op/input) cpu(Mhz) analog in/out digital in/out eeprom(kb) sram(kb) flash(kb) usb uart uno ATmega328P 5 / 7-12 16 6 / 0 14 / 6 1 2 32 Regular 1 pro ATmega168
ATmega328P3.3 / 3.35-12
5 / 5-128
166 / 0 14 / 6 0.512
11
216
32- 1 pro mini ATmega328P 3.3 / 3.35-12
5 / 5-128
166 / 0 14 / 6 1 2 32 - 1 yùn ATmega32U4
AR9331 linux5 16
40012 / 0 20 / 7 1 2.5
16mb32
64mbmicro 1 zero ATSAMD21G18 3.3 / 7-12 48 6 / 1 14 / 10 - 32 256 2 Micro 2 - Examples
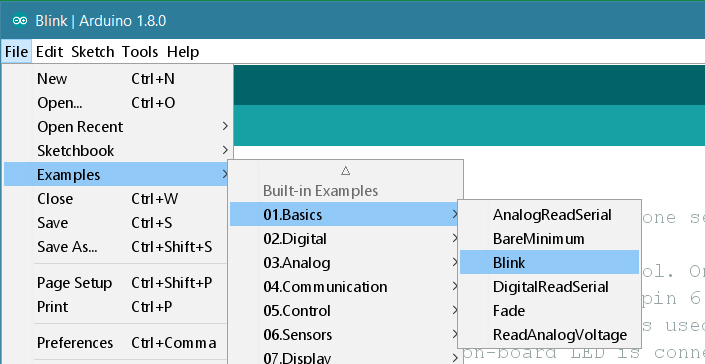
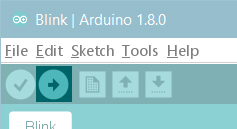
blink- open your first sketch
Open the LED blink example sketch: File > Examples >01.Basics > Blink.
void setup() { pinMode(LED_BUILTIN, OUTPUT); } void loop() { digitalWrite(LED_BUILTIN, HIGH); delay(1000); digitalWrite(LED_BUILTIN, LOW); delay(1000); }- select your board type and port

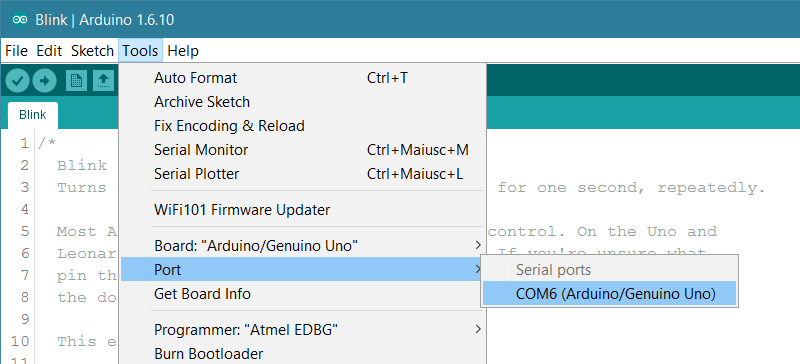
- upload the program
a few seconds after the upload finishes, you should see the pin 13 (L) LED on the board start to blink (in orange).
- open your first sketch